Explore. Create. Inspire.
Fear and Loathing and Homemade Cat Food


Yes, this is a nod to “Fear and Loathing in Las Vegas” with Johnny Depp and Benicio Del Toro – 1998. For a long time now, I have been wanting to make the food for my cats. What was stopping me was this fear that I would be doing them more harm than good. It was my perfectionist gremlin taking over my sane brain. I worried they would somehow get deficient in nutrients. With this set of amazing rescue kitties, I already had them on only high quality wet food (dry food is like cheesy poofs – no nutritional value) and some human grade meat. Various supplements were added to the wet food. Most folks, including my dad, said my cats ate better than they did.
Fear
Instead of trying some new things, I stayed in my pattern. I had fits and starts, but always backed down. I would thaw meat in the refrigerator with the best intentions, only to put it back in the freezer for another day. It is fascinating how our fears can hijack our desires. That may be a whole other blog post! I kept buying the canned food. True, some of it was convenience and some of it was habit, but fear is a serious hurdle to be reckoned with. What is the quote… a journey of a thousand miles begins with a single step. Clearly, I was not ready to take that first step just yet.
Loathing

In my cat food groove, I would read the labels and get icked out by the ingredients. My theory is that if I won’t eat it, why should my cats? So much terrible stuff ends up in pet foods. But even in my more expensive canned cat foods, there were still ingredients that I did not see how they were healthy. Seriously… would a wild cat ever encounter sunflower oil or lentils or other human created concoctions in their food? Umm… no. I became obsessive about all the ingredients in the cat food. Trying to find a clean brand that they would actually eat was a constant struggle.
Homemade Cat Food
Once my sane brain regained the steering wheel, I knew that one or two homemade meals would not send them running to the ACLU (American Cats Liberties Union) to file a complaint. It would also not send them into the emergency veterinarian clinic. So I chose this past weekend to experiment. I replaced the canned wet food with a mixture of homemade goodness that smelled great and was real food. And in true cat fashion, only one of my three cats thought it was great. He ate his portion and then when the other two walked away, proceeded to eat theirs as well. One out of three is pretty good, all things considered. Next, I attempted a different food for each cat. Again… failed miserably with two of the three. Though when left overnight, it magically disappeared by morning. Tonight will be another attempt with different proteins. All three are eating the meat, just not my attempts at wet food. They are dashing my hopes of becoming America’s Next Top Cat Chef. But I will persevere! They say it takes time and patience to switch cats over to fully homemade food. Clearly… that is an understatement. Patience…. Patience….. Patience… Stay tuned…
Hand and Body Cream Recipe #1


With the cool and dry air settling in over the northeast US, my hands are showing signs of needing some lotion to keep them in tip top shape. Averting dry skin is important for me as I spend a LOT of time working with my hands. This year, instead of trying to find a good lotion, I decided to make my own.
I found this recipe from Kristin over at livesimply.me. One of the elements that caught my attention was that it did NOT use coconut oil. I’m not opposed to coconut oil, I just was looking for something different. Plus, when I read the post, I had all of the ingredients on hand, though I did skip the essential oils. My skin is sensitive and I wanted an unscented version.
As I gathered my shea butter, I noticed my container of raw cocoa butter wafers. Inspiration struck. I would add in some cocoa butter to the recipe and see what happened! So, 25 grams of cocoa butter went into my makeshift double boiler (glass bowl over a pot of boiling water). Once the cocoa butter was melted, I added 75 grams of unrefined shea butter. In a separate bowl, I mixed 1 teaspoon of arrowroot powder with 2 tablespoons of jojoba oil. When the butters were completely melted, I removed the bowl from the heat and added the arrowroot/jojoba mixture to the butters. Stirring for a bit to make sure that everything was mixed well, the bowl went into the refrigerator.
I had no idea how the cocoa butter would affect the cooling times from Kristin’s recipe. Thirty minutes later, I went to check on the mixture in the fridge. I stirred for a few moments and returned the bowl to the refrigerator for another 10 minutes. Removing the bowl, I set it on the counter, grabbed a hand whisk, and began to stir. If any of you have made fudge by hand, you wait until the fudge mixture is cooled to a certain point and then stir. When you stir it, there is a “magic moment” when the mixture stiffens up pretty quickly and needs to get into the tray or it will harden in the bowl. I found the same type of thing happening with my lotion! It turned a beautiful cream color and began to stiffen up. Once it had a decent consistency, I scooped it into a 4 ounce glass Ball Mason jelly jar. I actually had a small amount left over, so next time I would store it in the 8 ounce jar or just use a bit less of the butters.
Two days later…. I have been using this body cream which turned out to be more like butter. I’m not sure if this is due to the addition of the cocoa butter or just user error. ha ha! Regardless of the consistency, I do really like it! And like Bob Ross used to say… maybe it was a happy little accident! With the temperatures dropping, the thicker butter has much more staying power than a lighter lotion. If you make it, don’t skip the arrowroot powder. It really does help it be less greasy. End result: I will definitely be making this recipe again!!
Condensed Milk Dinner Rolls
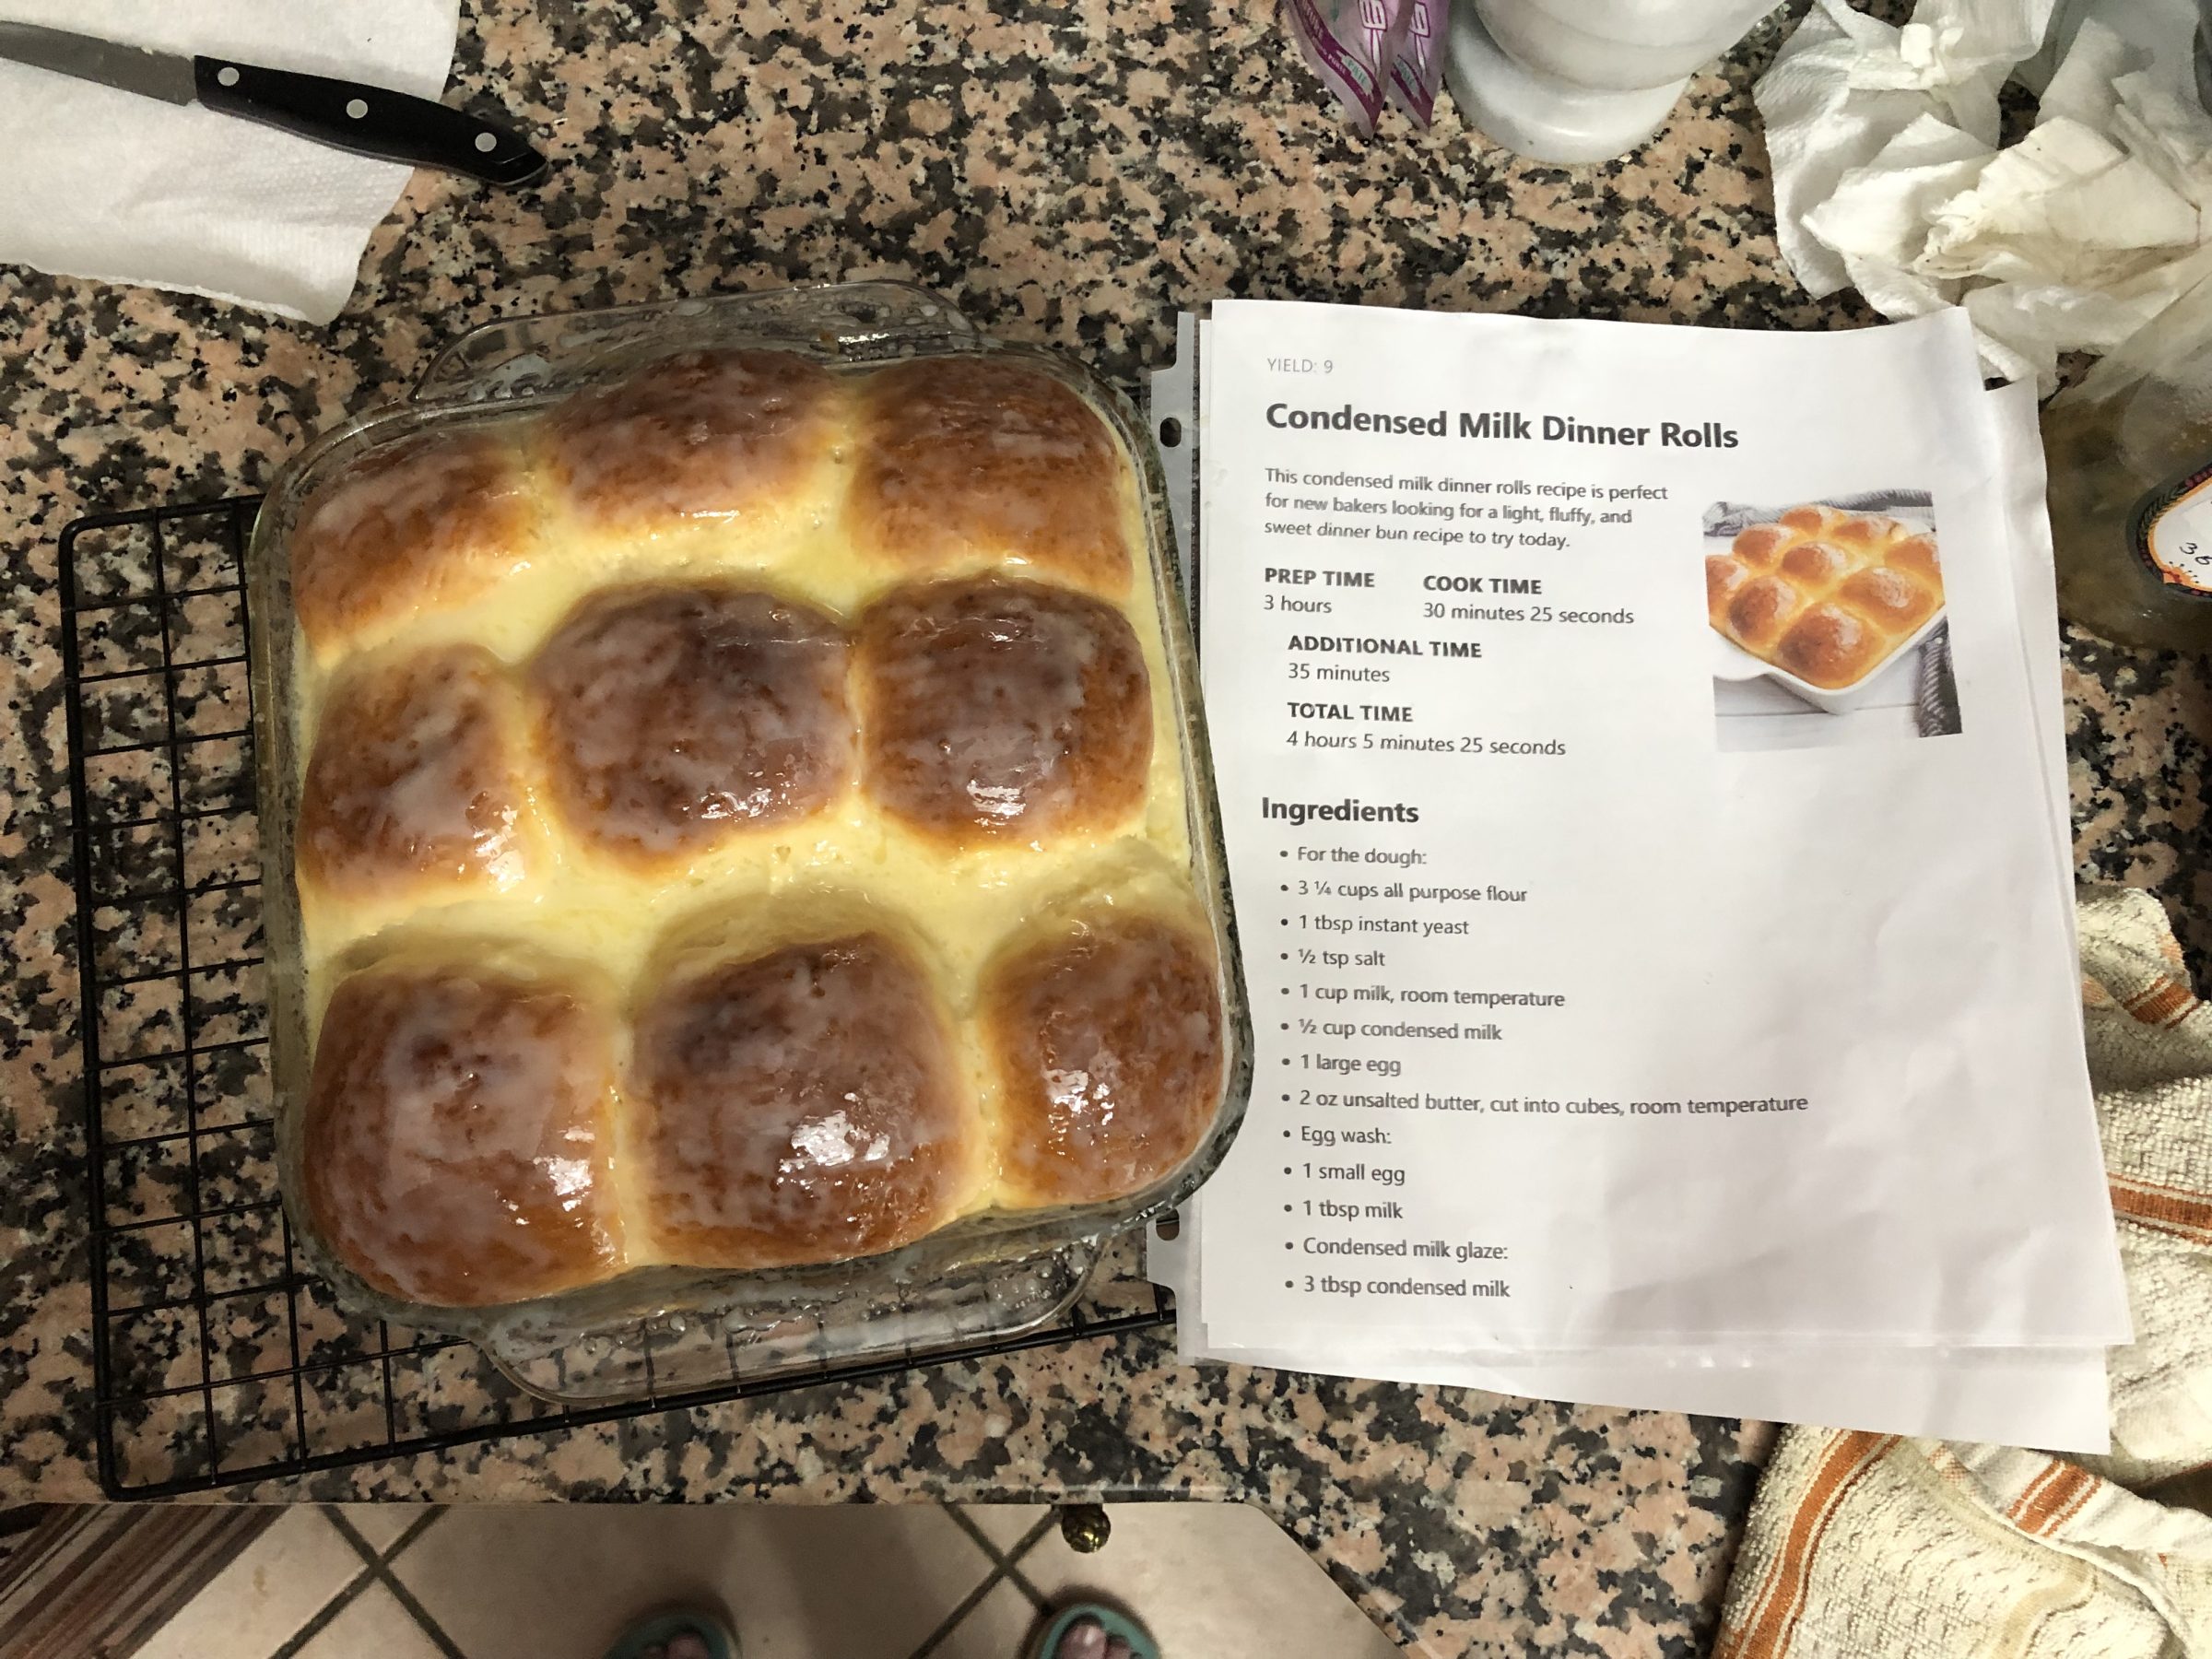
I won’t bury the lead… these were freaking delicious!! I’d been searching for a good recipe for dinner rolls. When I search for recipes, I tend to stay away from the big recipe sites and pay more attention to the smaller websites. I do still use the big recipe sites, depending on what I want to make, but I try to test out some of the recipes that don’t get the hype and promotion that the large websites have. But I digress… back to the story…
Recipe Searching…
During one of my random internet searches, I came across this recipe for Condensed Milk Dinner Rolls. I happened to have all the ingredients in the house and wanted to give them a try. Yes, I do print out the recipes. I am an office supply dork and put them in a sheet protector after I print them out. That protects the recipe from kitchen shmutz and the printout gives me a chance to make notes. The scientist in me loves to make notes as I experiment.
I was intrigued by the website: An Offgrid Life, and figured if Sarita could make these off the grid… then I should be able to at least give it a whirl. I wandered around her website for a while, seeing what was there. I did bookmark a few other recipes that I may try as well.
On a Roll…
The recipe was easy to follow, and the times listed for rising and baking were right on for me. These rolls smelled amazing, looked amazing, (as you can see, I am NOT a food stylist. ha ha!) and more importantly, TASTED amazing!! It has become my go-to dinner roll recipe! I did however, make a few changes. No changes to the recipe itself, but the first time I made these rolls, they were large. Great for sliders or sandwiches, but a bit big for dinner rolls. That is not a bad thing, just personal preference. So…. when I made them again, I divided the dough into twenty pieces and put the rolls in a 13×9 pan to bake them. They were perfect! And with Murphy’s Law in effect, I didn’t take a picture of that next batch. When I make them again, I’ll be sure to snap a picture and update this post. Thank you to Sarita for her wonderful recipe and finally gifting me with an easy way to make delicious dinner rolls!!
The Bittersweet Season of Autumn

We are in the full swing of Fall. Autumn is a beautiful season, but it also has a shadow side. It is the harbinger of winter. The trees, especially in the Northeastern US, shine and sparkle with spectacular colors of golds, oranges and reds. This splendor celebrates the peak of harvest and is a feast for all of the senses. Sights, sounds, smells, tastes, and touches.

Symphony of Color
For a brief period of time, the landscape is a symphony of color. Birch leaves turning beautiful golds, maples look like they’ve been splashed with oranges and reds, and the evergreens provide a wonderful contrast with their dark green needles. I like to think of this time of year as a celebration of all the different trees. They each get to dance and delight in their unique color. During the summer, they all are the same shade of green, but in the fall, they get starring roles in the tree cabaret.
The sounds of the wind rustling these gorgeous leaves, loosening the tree’s hold on them as they fall delicately to the ground. That cool, dry air tickles the skin as the breeze blows across any exposed skin. Most of us start to wear long sleeves and snuggly jackets.

Pumpkin Spice and Everything Nice
And of course, everything smells and tastes of pumpkin spice, or my favorite, apples and cinnamon! I just made an apple crisp and the entire thing was devoured in less than 24 hours (by more than just me!). I did not even have to find room for it in the refrigerator. While we have this sensation overload happening, few stop to see the shadow side until we are surrounded by it.
Party In The Front, Business In The Back
Ha… the mantra of the mullet. What does that have to do with any of this? Because at the front side of Autumn, we celebrate a spectacular season, the party. But the back side of the season, is all business. The business of getting ready for winter. Where I live, Halloween seems to be the tipping point. The party is over and it is time to get down to business. This season is all about letting go of what we no longer need, and preparing for a stark few months ahead. As I post this, we are halfway through October, and the party is in full swing, so enjoy every moment of it. Bob for apples, (does anyone still do that?) celebrate the harvest and revel in the pumpkin spice… or apples and cinnamon.
Wicked Wicks of The East…
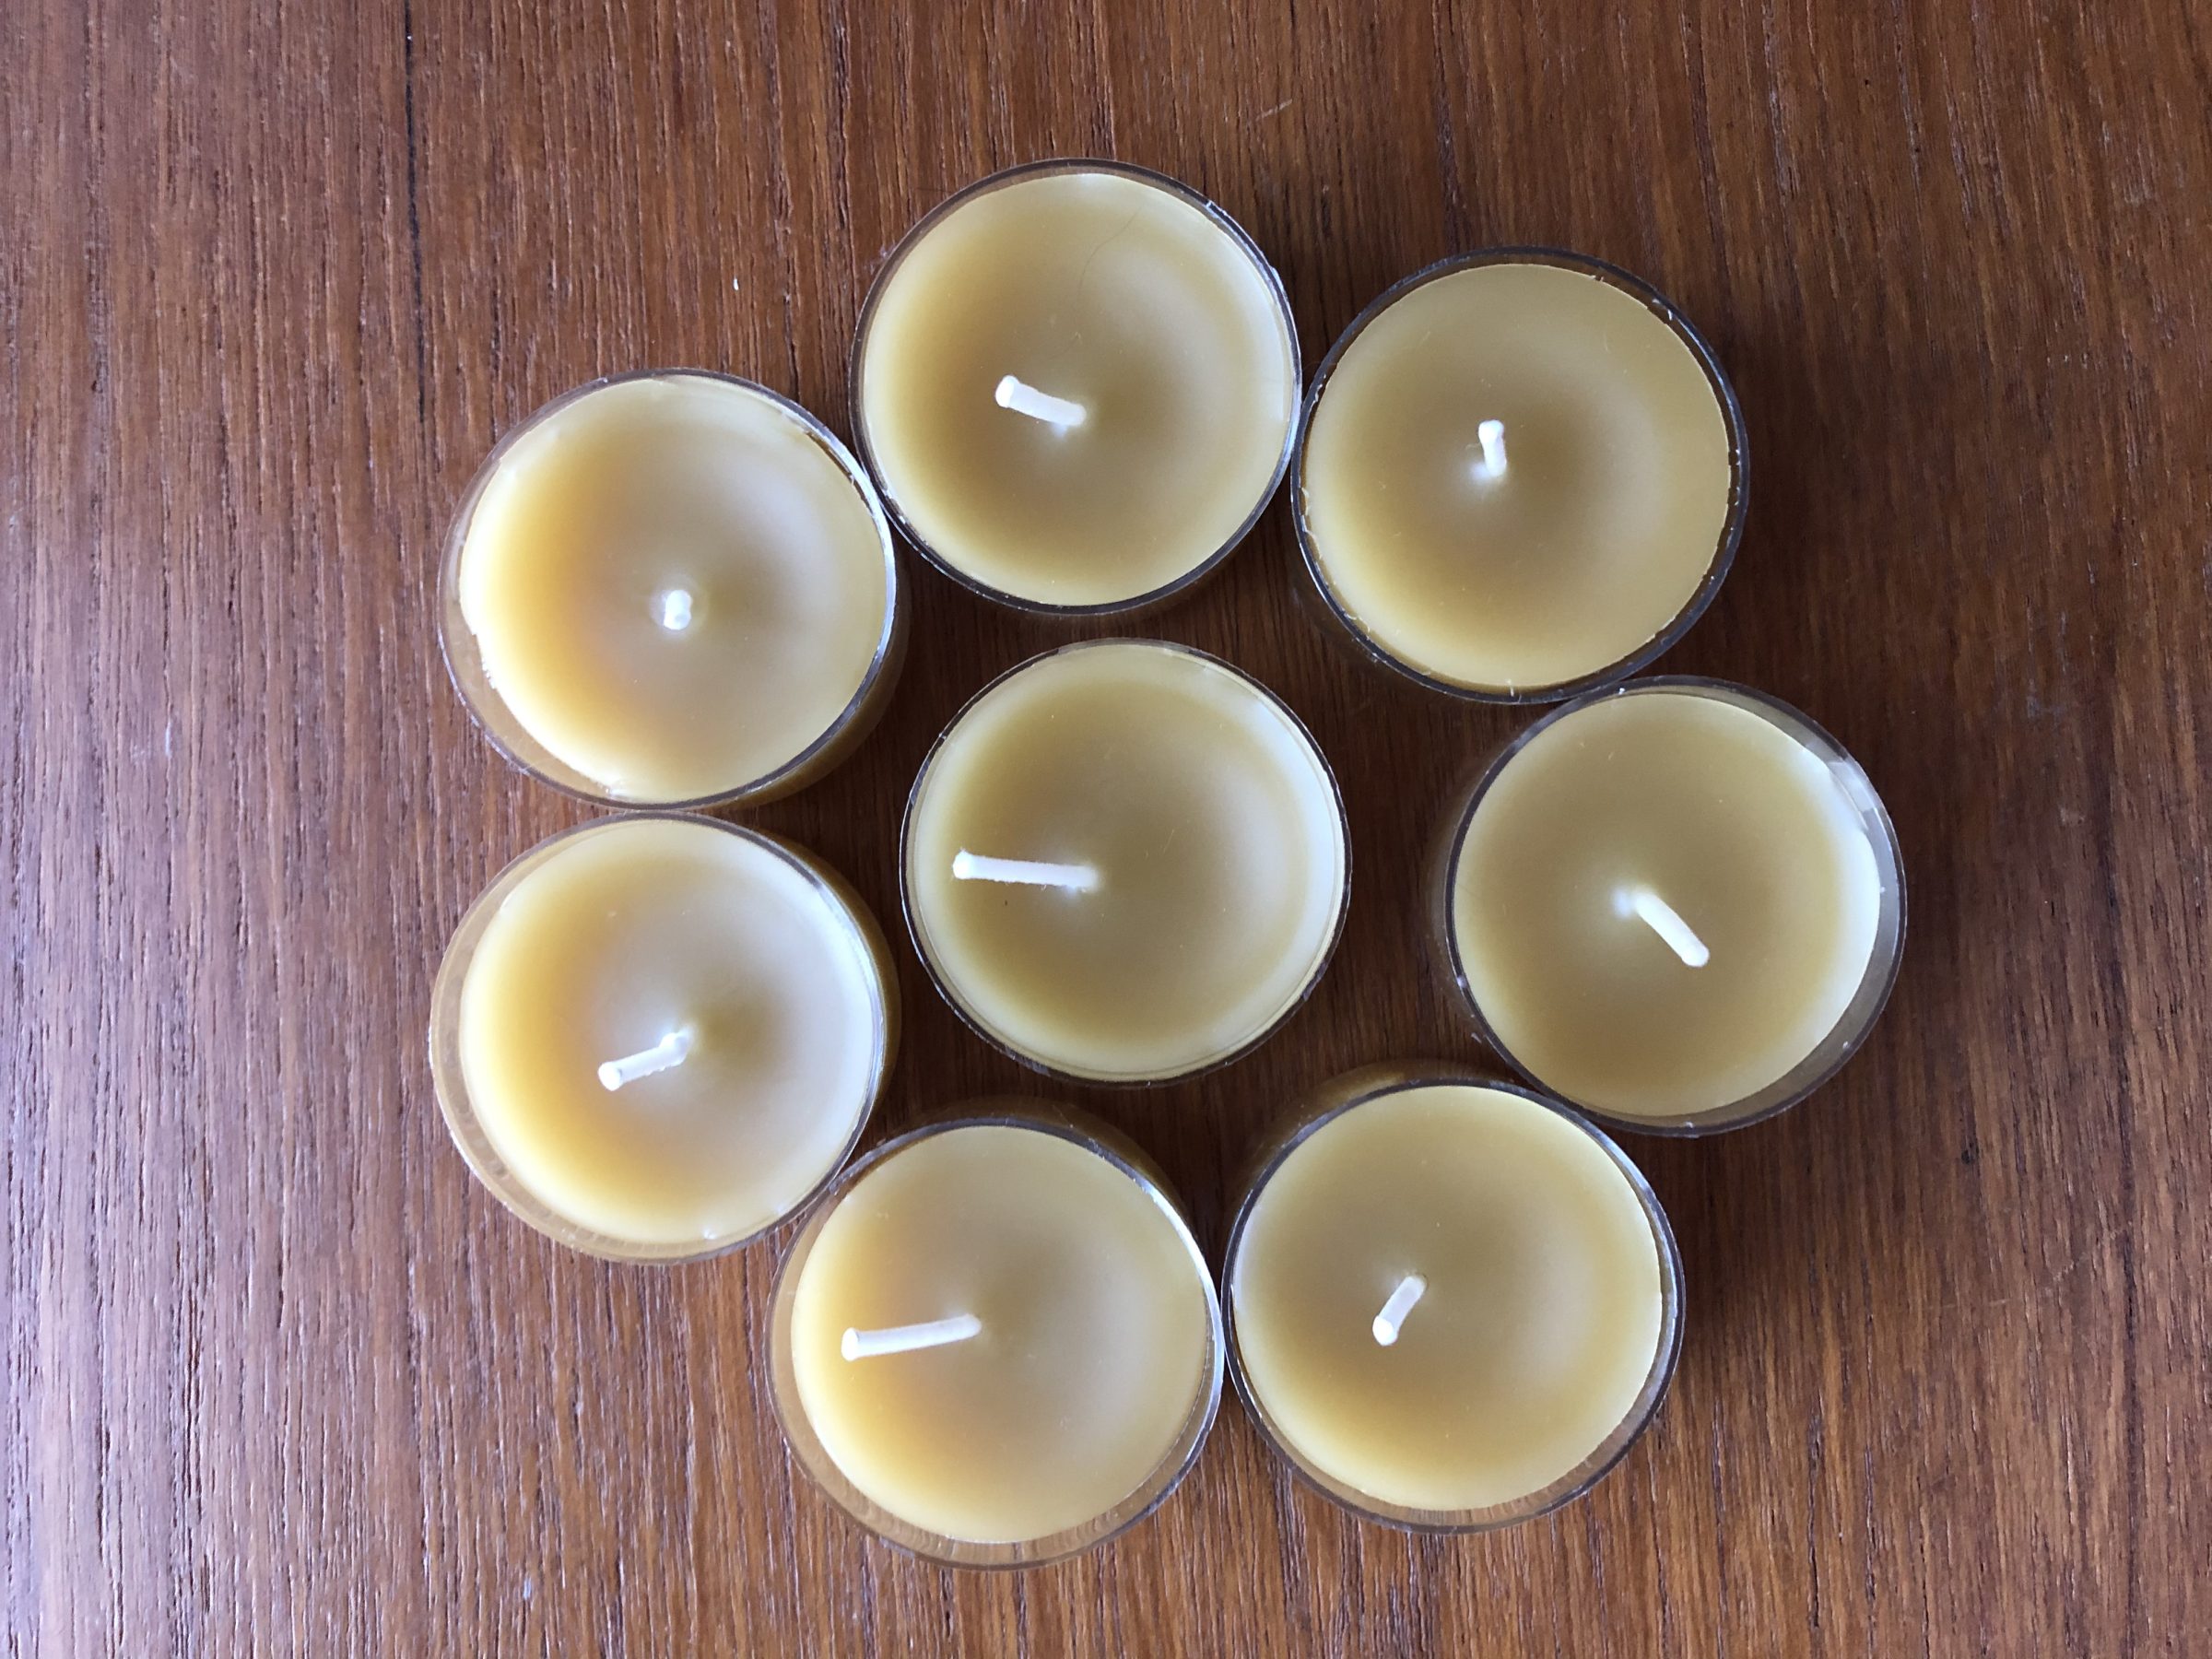
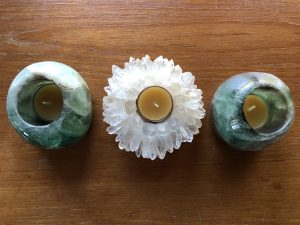
Photo by Tiffany Spaulding
Ha! I freaking LOVE beeswax. I use it in all kinds of ways. Right now, it is finally the time of year where the sun comes up later. As an early bird, I love getting up and starting my day in the quiet of the morning before dawn. I treasure these dark, quiet hours for journaling, brainstorming, snuggling with my kitties and starting my day at a slower pace. To make the time even more special, I have some chunks of fluorite with holes drilled in them for votive or tealight candles. I also have one that is made totally from clear quartz crystals, and a tealight nestles right in the center. Lighting the candles is part of my pre-dawn ritual.
Back to the beeswax… and being a freak about the toxic crap in mass produced candles… I make my own. The beeswax comes from a local friend of mine who is, among other things, a beekeeper. (The honey his bees produce is amazing too!!) So I know where the wax came from and how his hives are cared for naturally. These things are important to me. I do buy tealight wicks made for beeswax. Spoiler alert… not all wicks are the same.
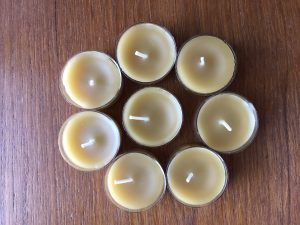
Photo by Tiffany Spaulding
Back again to the beeswax… so my tealights are just pure beeswax. No smelly stuff in them. I get the draw of wonderful smelling candles, but those are mostly chemical scents that are a no-go for me (and are terrible to breathe in, by the way). Essential oils can be used, but for anyone who has fabulous felines around, cats are super sensitive to them, so mine are unscented.
C’mon baby, light my fire! (The Doors were awesome!) These beeswax tealights are just the thing to get my morning juju going.
They are also great for evening juju if that is your groove.
Hand Carved Fork and Scoop/Spoon
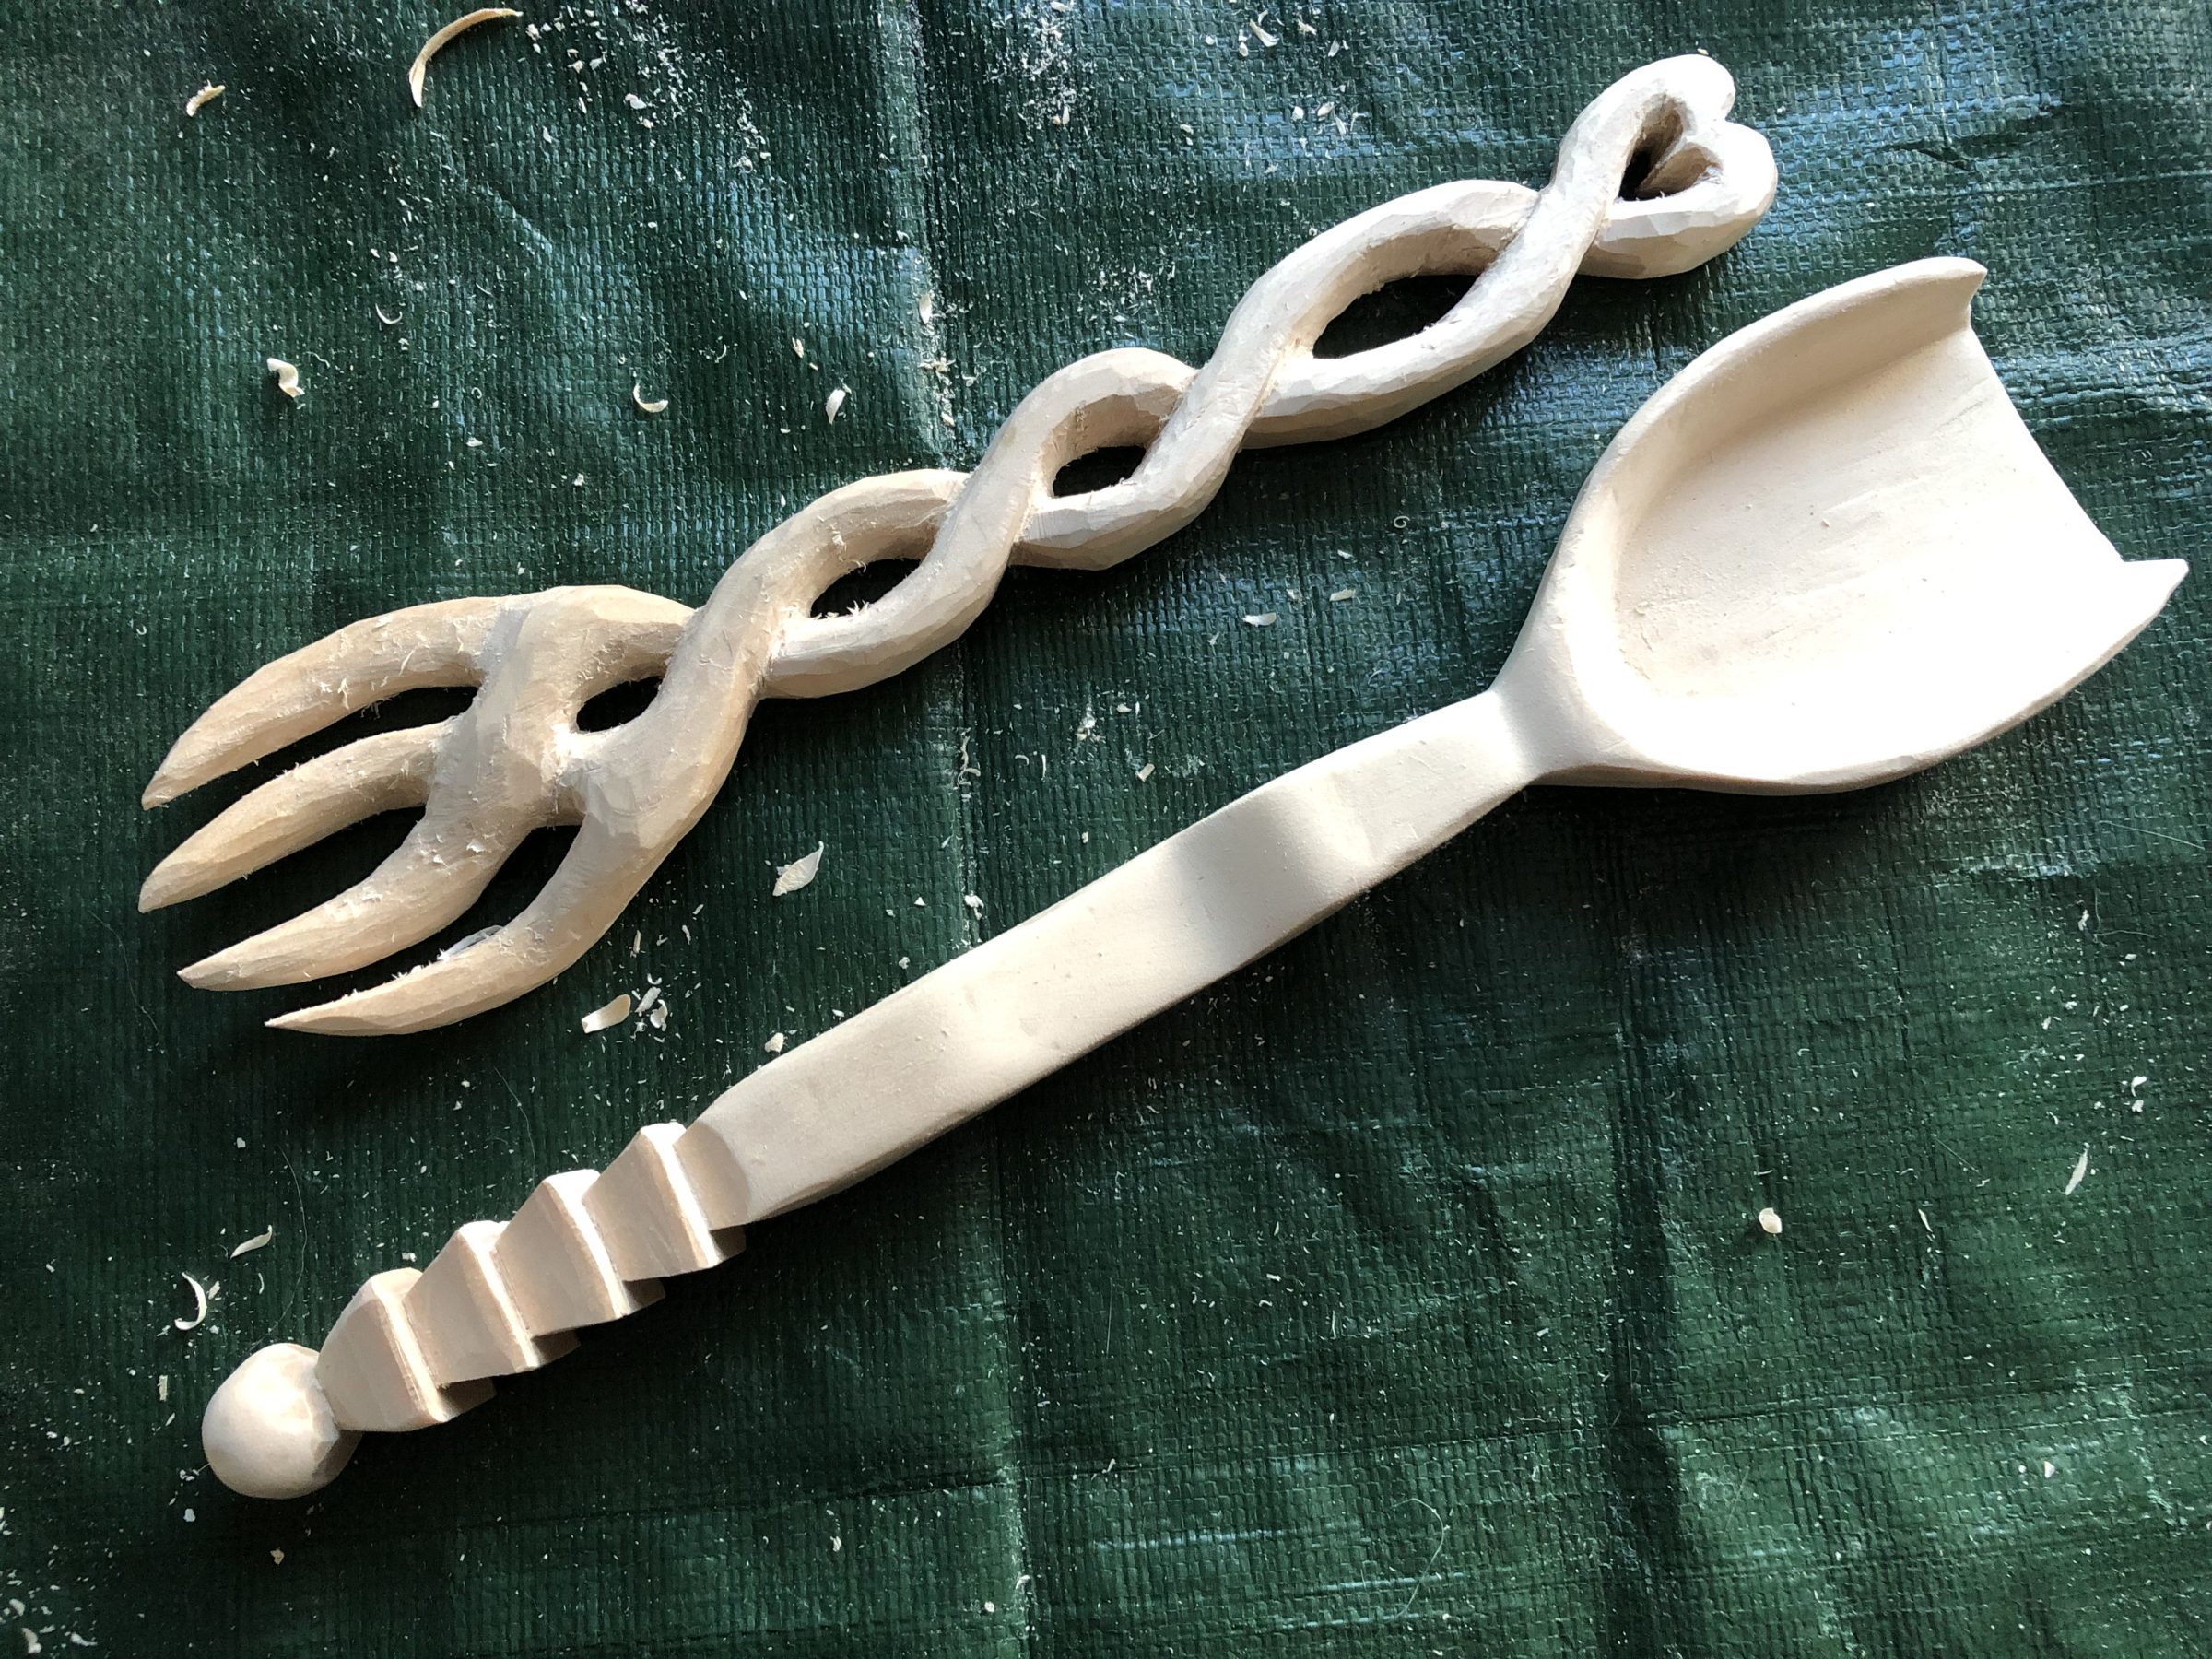
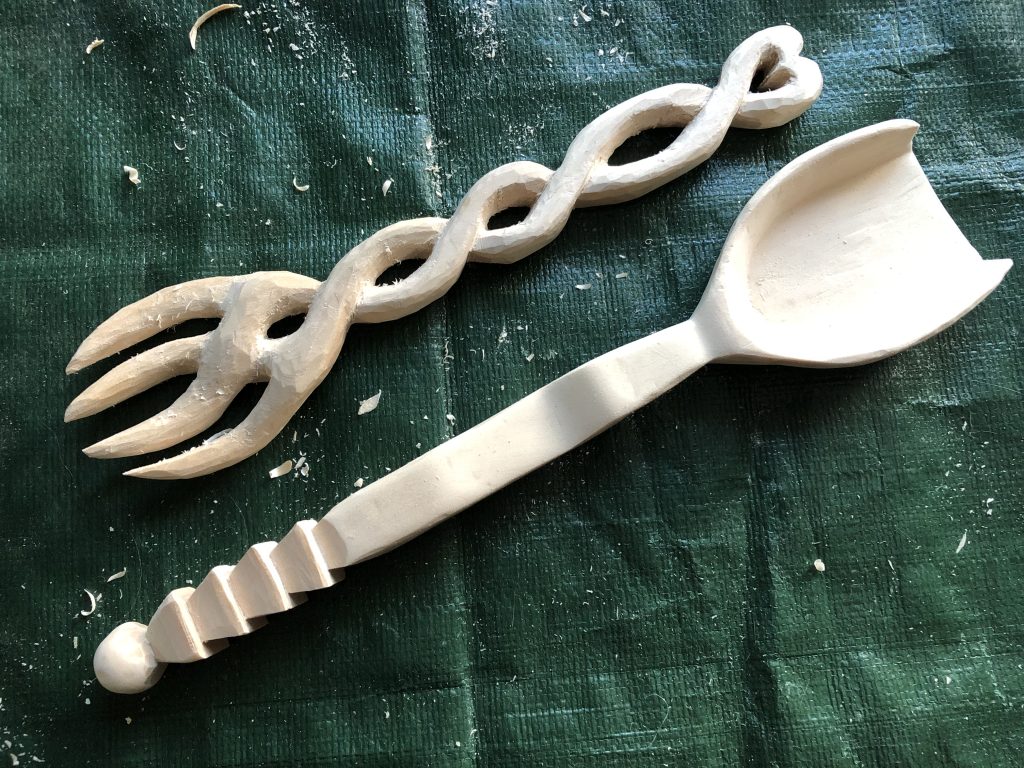
I love carving and both of these are “old school”. That means I have only used hand tools, specifically only hand carving tools. No assistance from any power tools! I have some milk paint that will bring some color to these beautiful pieces when I finish the carving work.
Ambrosia Maple Bowl
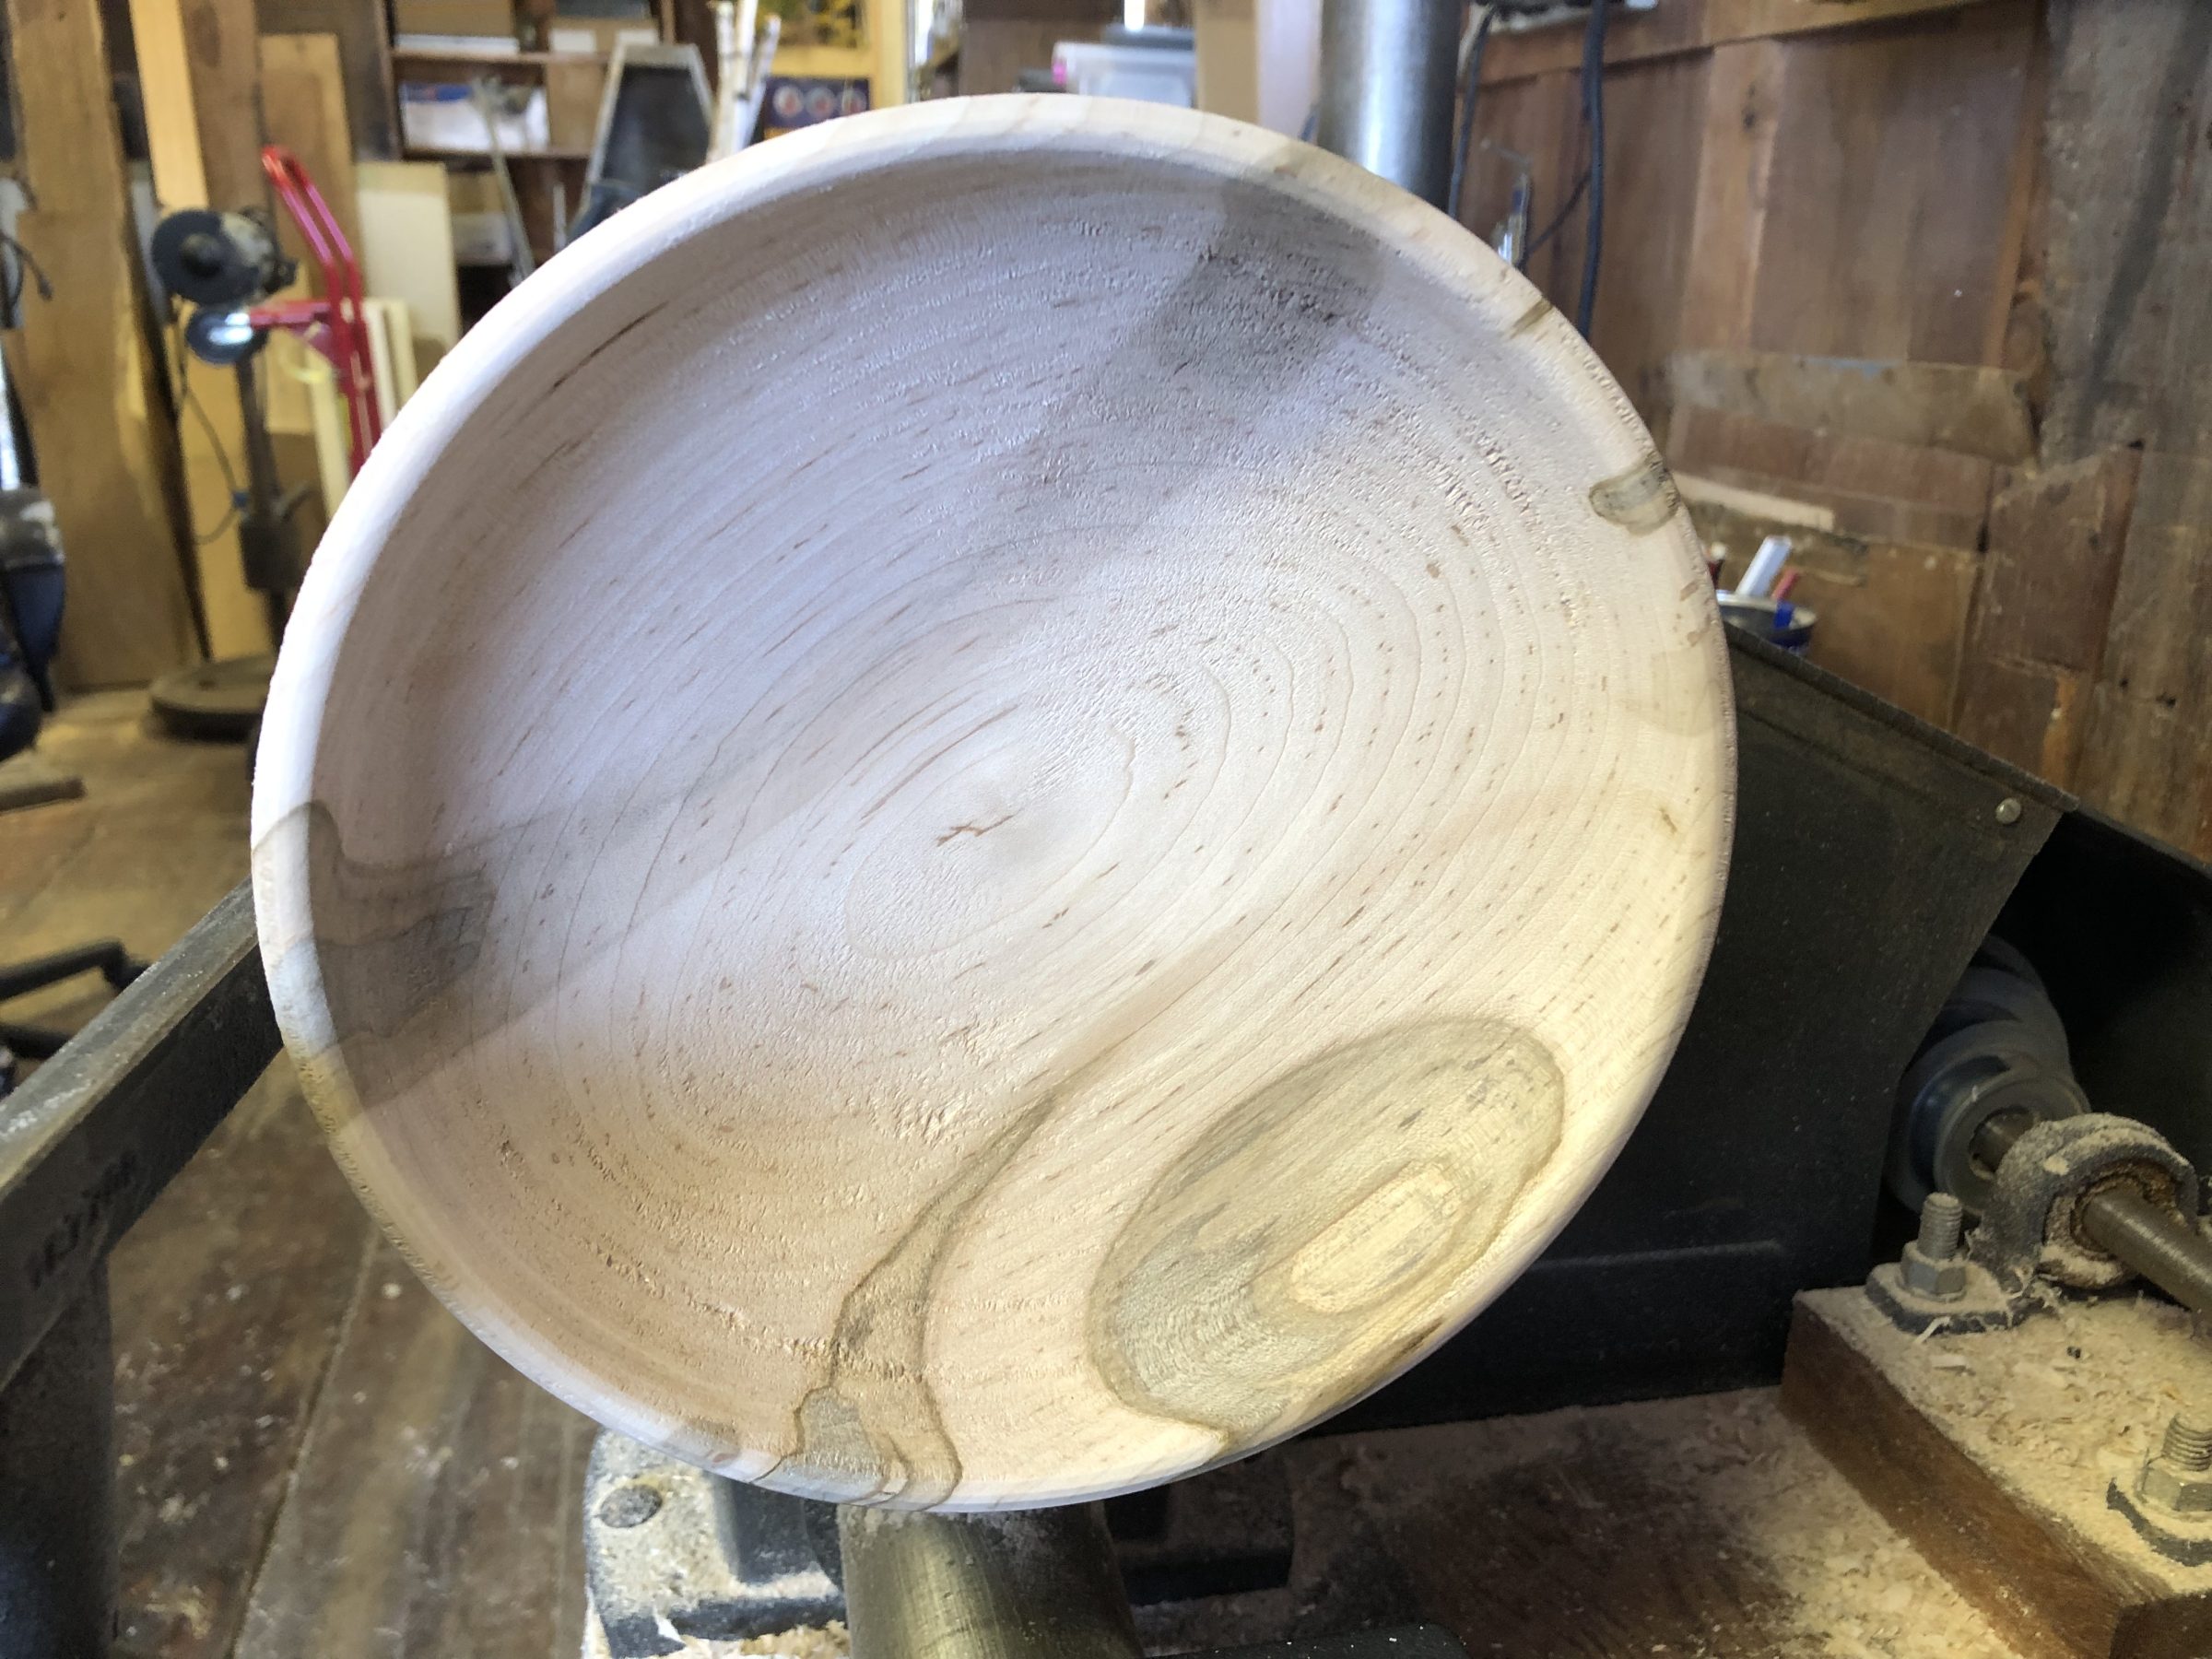
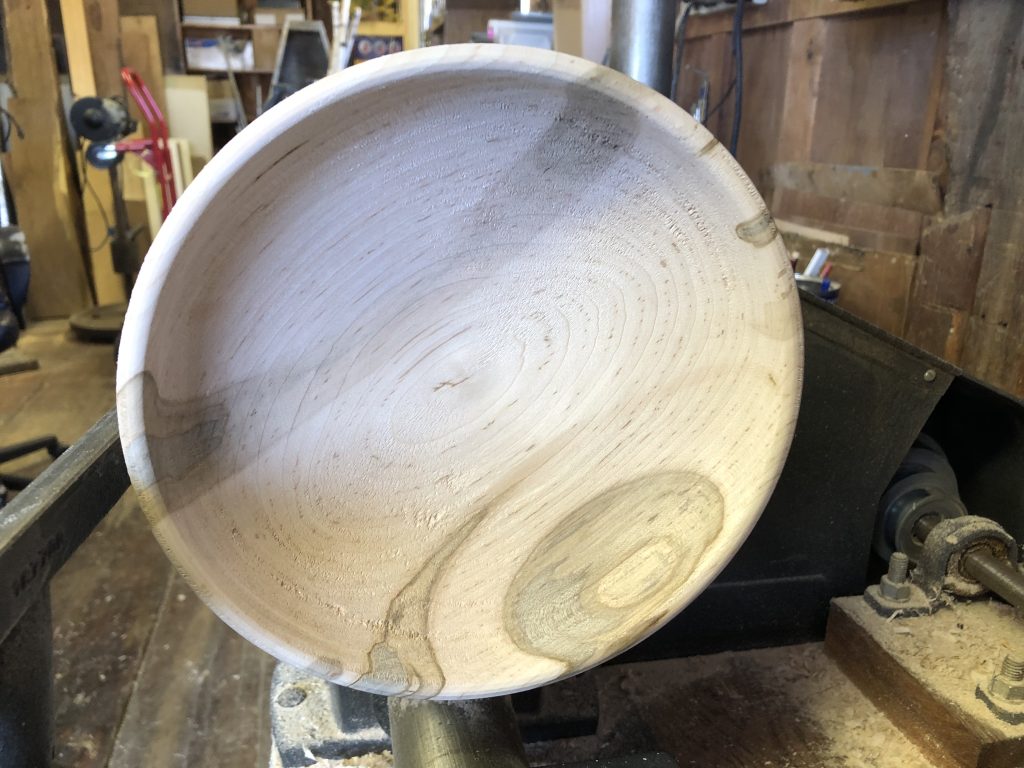
This gorgeous bowl that I am turning on a lathe is from a block of Ambrosia Maple I purchased a few years ago. This project is currently on hold because the lathe is not mine and our work had to be paused for the summer. I’m hoping to resume work on this beauty in the next few weeks!!